Following on from part 1….

1) First, extrude a the middle of set of edges around the cheek area. We are going to pull this back and attach to the faces at the top and bottom. Always think in terms of quads (four sided shapes).

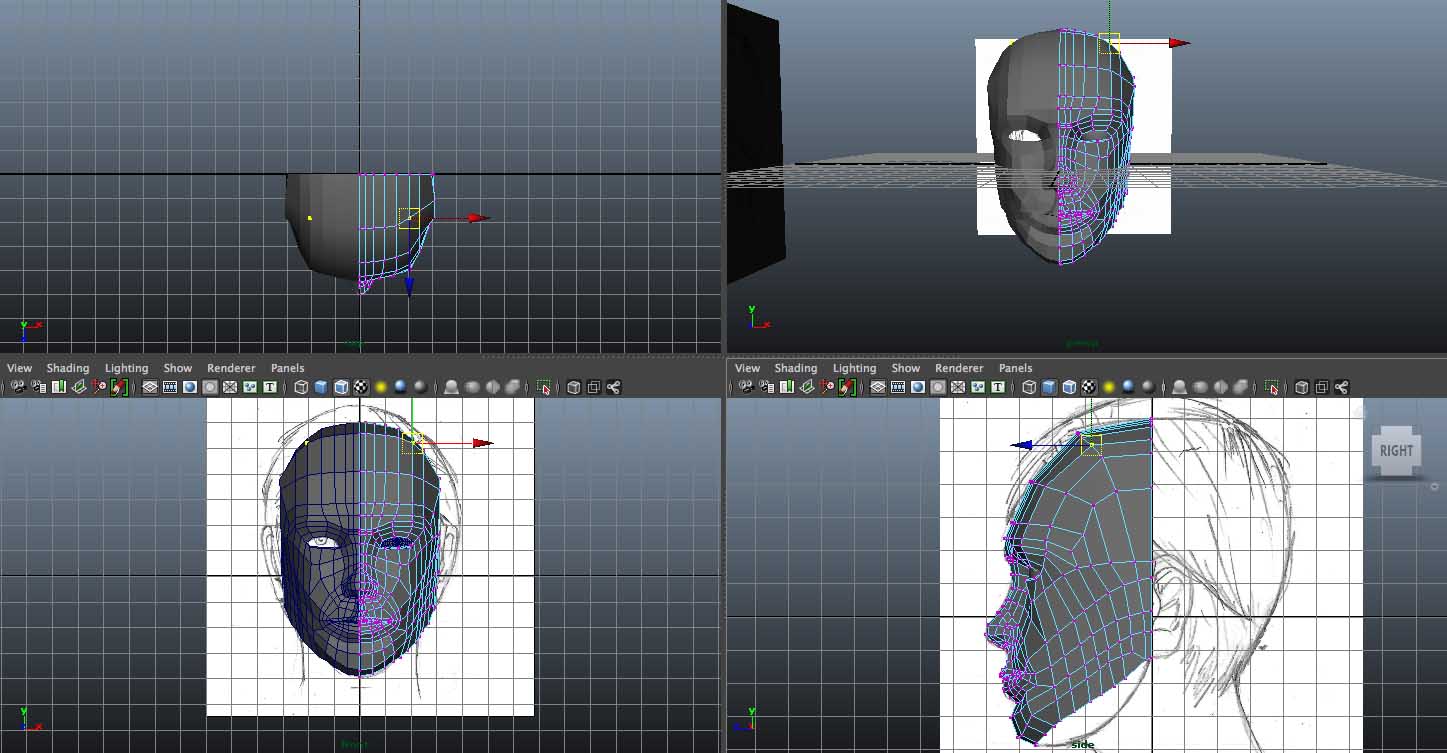
2) Continue to build up the cheeks and sides of the head. Always remember. what you do in the side view must also be addressed in the front view to maintain the correct shape.

3) Extrude the top set of edges along the brow upwards.

4) Using the snap to grid tool, straighten the vertex row.

5) Pull this line of vertices outward slightly in the side view to follow the shape of the brow.

6) Reshape this brow in the perspective view to make more of a smooth curve along the forehead.

7) Take the top row of edges you were just working with and extrude them up and back to the centre of the grid and the top of the head.

8) Add an edge loop.

9) Take this new row of vertices and shape them to the reference image in side view.

10) Extrude a row of edges from the side of the head .

11) Attach these vertices to the top and bottom quads to close up the gaps.
12) Reshape in all four views to follow the shape of the head.

13) Continue the process to close up the whole of the face sides and top of the head. You can also now start to look at the ear, so draw it out in quads as above, following the shape of your reference drawing. Use an actual photo of an ear from Google for reference like this one:

This will help you to work out where the inner ear and creases are and plan quads accordingly (see 14)

14) Plan and fill in the quads for your ear.

15) Take all of the inner faces.

16) Extrude them inwards.

17) Take the inner most ear faces and extrude them in and back.

18) Add an edge loop around the ear to create a rounder surface.

19) Rotate the whole ear outwards slightly.

20) Around the back of the ear take all the edges that run along it and extrude them in slightly.

21) Spend some time here adjusting points and making sure all your edge loops flow well. Take the top set of edges that run around the back of the head.

22) Extrude them outwards. Arrange as necessary so each line of faces lines up with the quads you have created in the ear.

23) Attach to the faces extruded from the back of the ear. This should hopefully begin to close the gap.

24) Repeat this process.

25) Spend some time here adjusting points and making sure all your edge loops flow well.

26) When done, start to think about extruding the neck and attaching it to the jawline / chin vertices.

27) Keep your extruded rows of quads equal to the amount forming the jawline, as in the picture.

28) Using the front view, pull them in a little to create the correct neck width.

29) Begin to merge vertices to close the gaps and arrange the edge loops.

30) Keep a close eye on defining the jawline. At this point, move whatever points are neccessary.

31) Keep a close eye on defining the jawline. At this point, move whatever points are neccessary.

32) Your head should be closed up. Tweak it as necessary to emphasise cheekbones and features.
No comments:
Post a Comment